|
This is a short tutorial which shows the basics of itsagif.
Although
Windows 95 is used for illustration,
similar steps are used on the other supported platforms.
- Start itsagif.
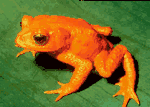
- Open "Frog". (File / Open)
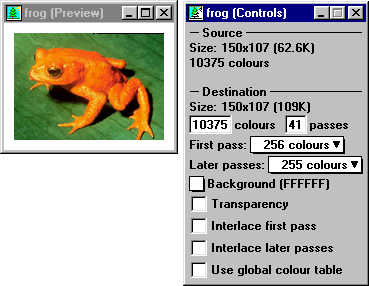
The original image has 10375 different colours. This is shown in the
source section of the control window (the window on the right) as well as the
destination section of the control window, where the number may be edited.
- Enter "256" as the number of colours for the destination image.
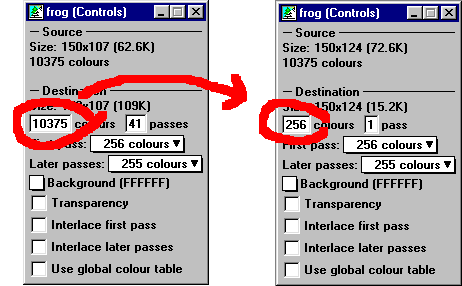
Notice that the preview image changes (very slightly) to show how the image
will appear if saved now. The size of the saved image is also updated - using
256 colours, the image uses 15.2K instead of 109K for 10375 colours.
- Save the image as "Frog256.gif". (File / Save as...)
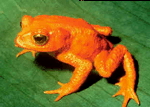
"Frog256.gif"
- As another example, change the number of colours from 256 to 32, and
save the image as "Frog32.gif". (File / Save as...)
"Frog32.gif"
It is clear that for most uses, 32 colours would be a better choice since it is visually
acceptable and results in significant filesize savings (so viewers will download, and see,
the image much faster).
- To see the relationship between the number of colours used and the file size, open the
"File Size vs Number of Colours" window. (Windows/File Size vs Number of Colours)
The curve showing the relationship will slowly materialize, but don't wait for it
finish since the program can be used while it is filling in the curve.
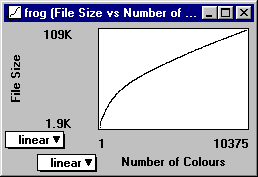
- Click on the curve to select the number of colours used.
- Try using itsagif on some of your own images. Since the preview shows how the image will appear,
play around with the number of colours until you have the smallest filesize with an acceptable image.
|
|